PDQ Deploy and PDQ Inventory versions 19.0.40.0 are now available for download. To enable alerts for newly released versions of PDQ products, click Options > Preferences > Alerts (or press Ctrl+Comma) and select both Auto Update Check Enabled and Release Channel. Once saved, click A new version is available in the status bar to download and install the latest released version.
PowerShell Scanner
We are so excited to bring you the PowerShell scanner for PDQ Inventory. Not only is it highly requested, but is very powerful. Is there data you wish Inventory scanned? Well, if you can write a script for it, you can get the data into Inventory. That same information can then be used for Collections and Reports.
Not proficient in PowerShell? No problem; we also offer a Git repository of scripts that can be imported into Inventory. Of course, the more you see how powerful the scanner is, the more you might want to become a scripting wiz yourself. We also have a new area of our Community Forum if you want to strike up a conversation with other PowerShell users.
“Where do I find this amazing PowerShell scanner?”, you ask? Navigate to Options > Scan Profiles. In this window, we’ve given you a morsel by adding two built-in PowerShell scanners that you can use immediately. PS - Mapped Drives retrieves the mapped drives of logged-on users and PS - Windows Defender Information gathers basic Windows Defender Information such as product version and signature version using the built-in cmdlet 'Get-MpComputerStatus' found in the defender module.
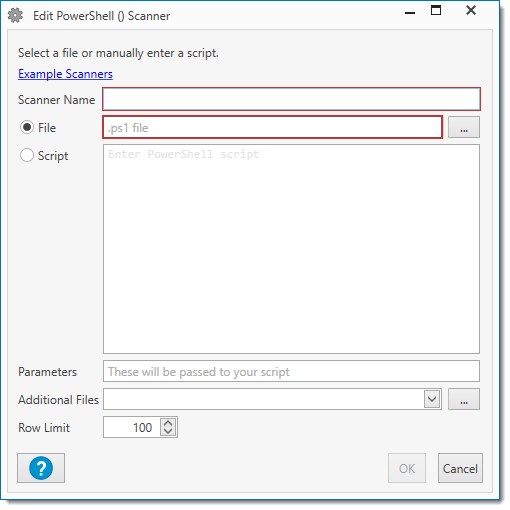
Want to create your own? From the Scan Profiles window click New. This will open the New Scan Profile - Scan Profile window. Select Add > PowerShell.

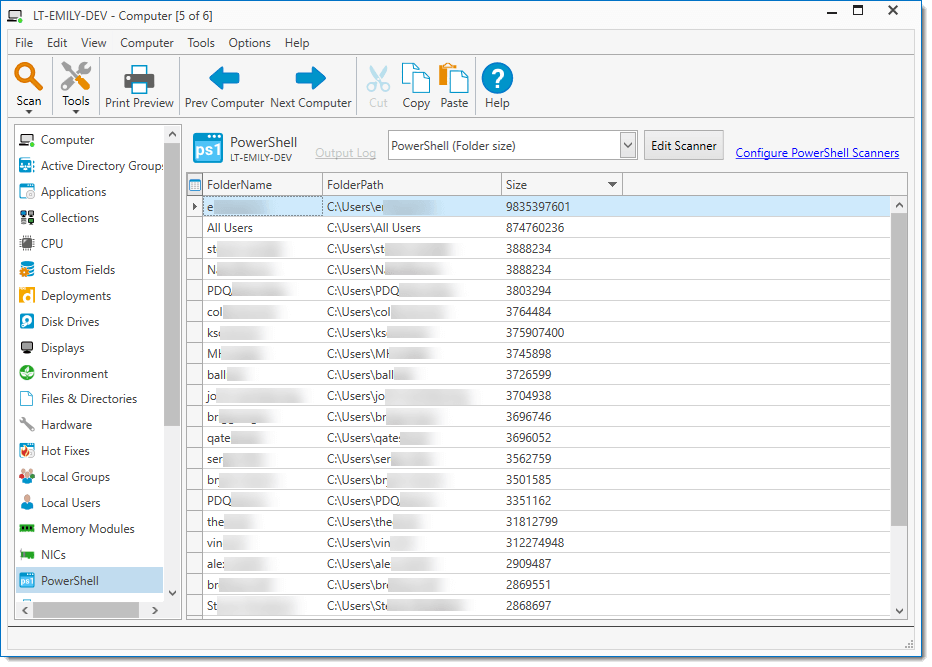
As an example, I’ve used the following script to gather user profile size:
$ErrorActionPreference = "SilentlyContinue"
$UserFolders = Get-ChildItem -Path "C:\Users" -Force -Directory
ForEach ( $Folder in $UserFolders ) {
    [UInt64]$FolderSize = ( Get-Childitem -Path $Folder.FullName -Force -Recurse | Measure-Object -Property "Length" -Sum ).Sum
    [PSCustomObject]@{
        FolderName    = $Folder.BaseName
        FolderPath    = $Folder.FullName
        Size          = $FolderSize
    }
}
After a scan, this returns the following results on the PowerShell page of the Computer Window:

Think of the possibilities! It might be a good time to start or continue honing those PowerShell skills. Want more detailed documentation? Info on the scanner and the PowerShell page of the computer window are available online.
Happy PowerShelling!
Reorder Packages While Using Deploy Once
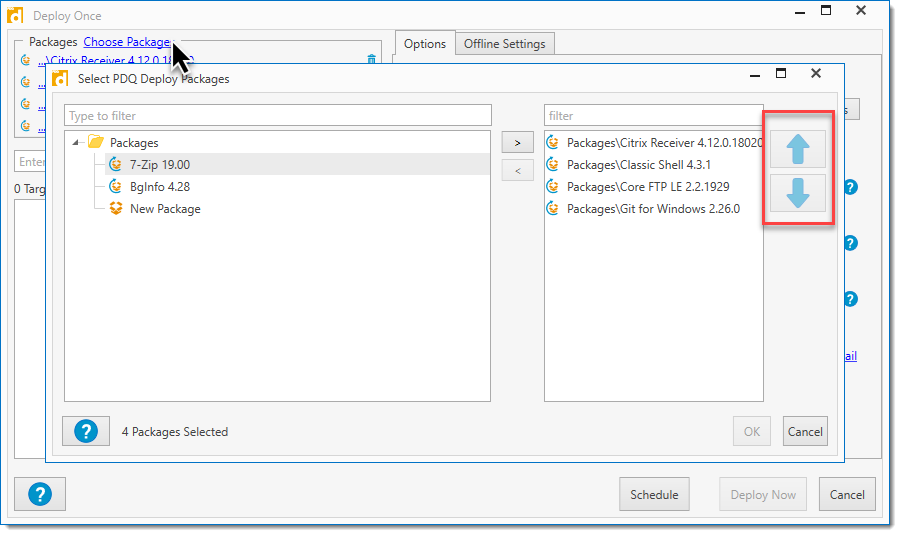
Previously, when using Deploy Once, the only way to assign the package order was to select the packages in the correct order. Not anymore! To rearrange the packages, click on the Choose Packages link in the Deploy Once window. This will allow you to rearrange the order.

If you have any feedback for us, please email us at support@pdq.com


