

TL;DR: PowerShell can install printers with one command from a print server, or in four steps without one: add the driver, install it, create a port, and add the printer. It is great for small deployments, but for managing printers across many devices, Group Policy or Intune are better options.
You can install printers with PowerShell by connecting to a shared printer on a print server or by manually adding the driver, port, and printer on a local device. If you have a print server, Add-Printer -ConnectionName is the fastest option.
While managing printers is the bane of any sysadmin's existence, let's focus that r̶a̶g̶e̶ energy on learning how to manage printers using PowerShell, which might make them slightly less terrible.
How to install a printer from a print server with PowerShell
To install a printer from a print server, use the Add-Printer -ConnectionName command in PowerShell. This adds the driver, creates the port, and installs the printer automatically. It’s what we in the PowerShell business call a one-liner. (Ba dum, tss.) Here’s how it works.
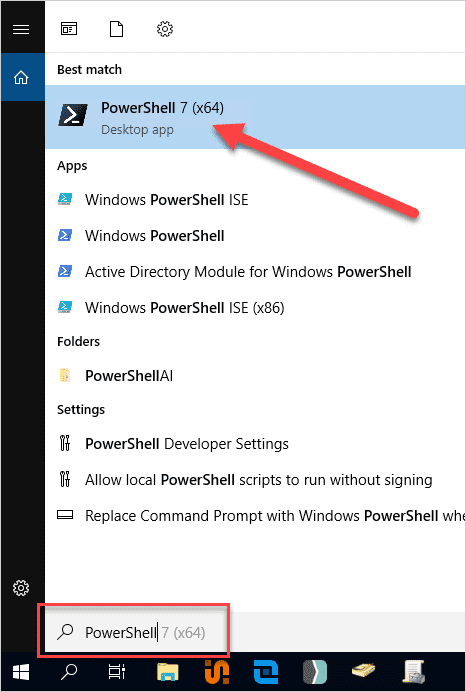
Enter PowerShell into the Windows search field.
Launch your favorite flavor of PowerShell. For this example, I’m using PowerShell 7, but Windows PowerShell (PS ver. 5.1) should work fine.
Enter and execute this command, replacing
<printserver>and<printername>with your environment information:Add-Printer -ConnectionName \\<printserver>\<printername>

Nice and easy. This command does all the work while I take all the credit. It’s a win-win situation, which is why I continue to vehemently endorse PowerShell.
PowerShell power user?
Check out The PowerShell Podcast: a weekly exploration of tips and tricks to help you step up your PowerShell game.
How to install a printer with PowerShell without a print server
If you do not have a print server, you can still install a printer with PowerShell by adding the driver package, installing the printer driver, creating a TCP port, and then creating the printer.
Add the print driver to the Windows Driver Store.
Install the print driver.
Create the printer port.
Install the printer.
This may sound a bit daunting, but I assure you that each of these steps can be accomplished with relatively simple commands.

Run PowerShell scripts on remote devices
Execute PowerShell scripts on managed devices from anywhere with PDQ Connect.
1. Add the printer driver to the Windows Driver Store with PowerShell
While it would be amazing for your computer to already have the driver file you need, it’s also unrealistic. Thankfully, adding drivers to the Driver Store is a simple process.
This step assumes you already have the necessary INF driver file for your printer. If you don’t already have the driver file, you should be able to download it from the printer manufacturer’s website. Once you have the file, copy its directory path because we’ll need it for the command. This can be a UNC or local path.
Here’s the command.
Pnputil /add-driver <”inf_path”>Ensure you replace <”inf_path”> with the path to your INF file. Here’s the outcome of the command I ran while my INF file was located in my Documents folder.

Before you grab your pitchfork, yes, I know pnputil isn’t really a PowerShell command. But it works, and you can run it from a PowerShell console, so I’m going to count it.
2. Install the printer driver with PowerShell
After adding the printer driver package to the Driver Store, find the exact driver name in the INF file. You’ll use that value with Add-PrinterDriver to install the printer driver.

With our driver name handy, we’re ready for the command.
Add-PrinterDriver -Name <”driver_name”> -InfPath <”driver_path”>Obviously, you’ll want to add your driver name and driver path to your script. Here’s the full PowerShell command I used for my driver.
Add-PrinterDriver -Name “HP OfficeJet Pro 6970 PCL-3” -InfPath "C:\Windows\System32\DriverStore\FileRepository\hpygid20_v4.inf_amd64_6dcca7f9f7ba29dc\hpygid20_v4.inf"3. Create a printer port with PowerShell
Creating printer ports with PowerShell is straightforward. The most difficult part is coming up with a catchy name, so give yourself plenty of time with this step. Once you’ve figured out your port name, you’re ready for the command.
Add-PrinterPort -Name <”port_name”> -PrinterHostAddress <printer_IP_address>
Congrats! You’ve created a printer port with PowerShell. While most people would recommend giving the port a descriptive name, I think my creative name better reflects my eating habits, which is important.
4. Install the printer with PowerShell
We’ve made it to the final step of the process: installing the actual printer. This is where we bring all the previous steps together in a mighty crescendo of PowerShell and behold our glorious results. We also get to think up another creative name, this time for the printer. Here’s the command.
Add-Printer -DriverName <”driver_name”> -Name <”printer_name”> -PortName <”port_name”>And just like that, Sir Jams Alot has been added to my environment and is ready to jam whenever I’m running late for a meeting.


Full PowerShell script to install a printer
Here’s the full script to add printers to your computer with PowerShell.
Pnputil /add-driver <”inf_path”>
Add-PrinterDriver -Name <”driver_name”> -InfPath <”driver_path”>
Add-PrinterPort -Name <”port_name”> -PrinterHostAddress <printer_ip_address>
Add-Printer -DriverName <”driver_name”> -Name <”printer_name”> -PortName <”port_name”>
Ensure you replace everything designated with left- and right-angle brackets with the proper information, and you should be good to go.
If you intend to deploy this script to other computers on your network, I recommend saving the print driver on a file share that all your endpoints can access. I also recommend using a tool designed to deploy scripts, like PDQ Connect PDQ Deploy. PDQ Connect is an agent-based solution for managing and distributing packages and scripts to hybrid and remote endpoints. PDQ Deploy specializes in distributing packages and scripts to your on-prem devices. You can try both solutions free for 14 days.
Should you use PowerShell to manage printers at scale?
If you need to manage printers at scale, use Group Policy or Intune instead of PowerShell when those tools are available. PowerShell works well for one-off installs and small deployments, but policy-based tools give you better control for larger environments.
Don’t get me wrong: I’m a hardcore PowerShell fanatic. I’ve written dozens of PowerShell articles, and I even guest-starred on The PowerShell Podcast. But — sometimes there are better tools for the job, even though that hurts to say. In this case, that’s Group Policy and Intune. With way more management control, including security and networking options, Group Policy and Intune give you the tools necessary to manage printers at scale. However, if this is just for a few devices, PowerShell is more than capable of getting that pesky printer installed.
For more printer tips and tricks, dive in to our printer-focused episode of PDQ Live:
Loading...
How to install printers with PowerShell FAQs
Can I install a printer with PowerShell without admin rights?
You typically need local admin rights to install printer drivers and create ports. Installing a shared printer may work without admin rights if the driver is already present.
What PowerShell module is required to manage printers?
Printer management cmdlets like Add-Printer and Add-PrinterDriver are part of the PrintManagement module included in Windows.
Why does Add-Printer fail when connecting to a print server?
Common causes include missing drivers, permission issues, or network access problems to the print server share.
Can I deploy printers to multiple machines with PowerShell?
Yes, but for large environments, tools like Group Policy or Intune are more efficient and provide better control.


